


Jul 13, 2026
Is a Dual Motor Electric Bike Worth It? Everything You Need to Know Before Buying
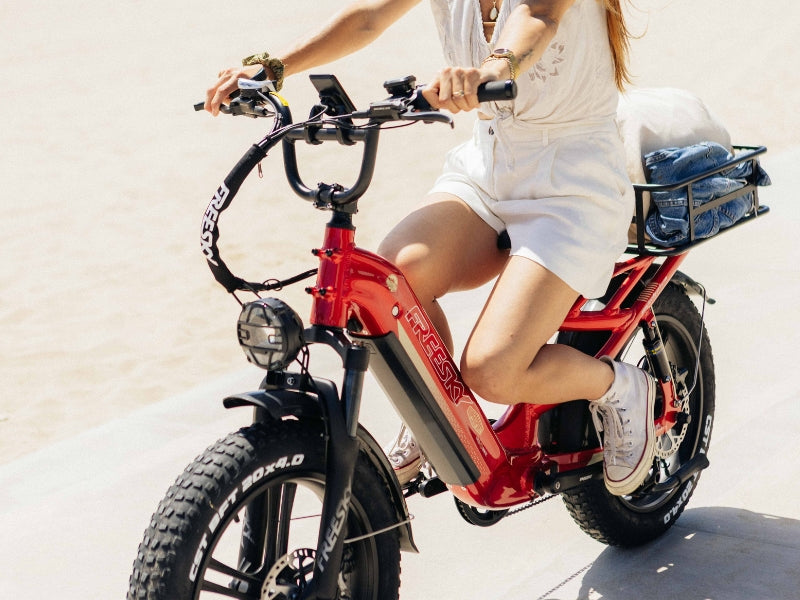
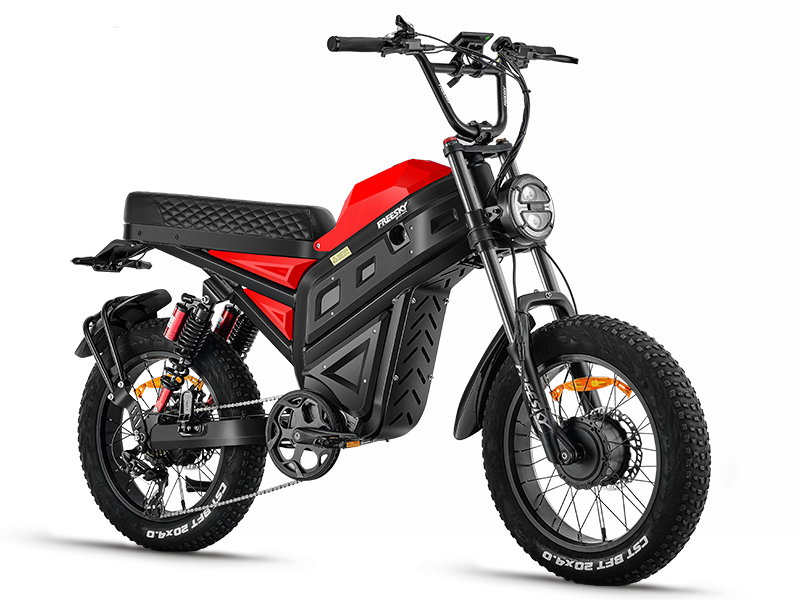
As electric bikes become more powerful, more riders are choosing dual motor electric bikes for better performance on hills, loose terrain, and longer adventures. But is a dual motor eBike really worth the extra investment? Or is a single motor enough for everyday riding? The answer depends on how—and where—you ride. In this guide, we'll explain the biggest differences between single and dual motor eBikes, their advantages and trade-offs, and how to decide which option best suits your riding style. What Is a Dual Motor Electric Bike? Unlike a traditional eBike that uses a single hub motor, a dual motor electric bike is equipped with both front and rear motors. This allows power to be delivered to two wheels instead of one, creating improved traction, stronger acceleration, and more balanced performance across challenging terrain. Many riders compare the experience to the difference between two-wheel drive and all-wheel drive in a vehicle. While both can get you from one place to another, additional traction can make a noticeable difference when conditions become more demanding. Single Motor vs. Dual Motor: What's the Difference? Feature Single Motor Dual Motor Power Delivery One wheel Front & rear wheels Hill Climbing Good Excellent Loose Terrain Moderate Superior traction Acceleration Smooth Faster and more responsive Riding Confidence Everyday riding Challenging terrain & heavy loads Best For Commuting, bike paths Off-road, mountains, sand, snow For riders who primarily commute on flat roads, a single motor is often more than sufficient. However, if your rides regularly include steep climbs, gravel roads, beaches, snow, or muddy trails, dual motors provide additional control and confidence. 1. Better Hill Climbing Performance One of the biggest advantages of dual motors is climbing ability. Instead of relying on one wheel to deliver all the power, both motors work together to maintain traction and momentum. This becomes especially noticeable when: - Riding on steep hills- Carrying cargo- Riding with heavier loads- Starting from a stop on an incline Higher torque also means less strain on the motor while maintaining smoother power delivery. 2. Improved Traction on Challenging Terrain Loose surfaces often cause a single driven wheel to lose grip. Dual motor systems distribute power across both wheels, helping riders maintain better control on: - Sand- Snow- Gravel- Mud- Forest trails- Rocky terrain Rather than spinning a single wheel, the bike remains more stable and predictable when conditions become difficult. If you frequently ride beyond paved roads, exploring our collection of dual motor electric bikes can also help you find models designed for greater stability on mixed terrain. 3. Faster, More Confident Acceleration Acceleration isn't only about speed—it's also about control. Whether merging into traffic, crossing an intersection, or overtaking slower riders, dual motors deliver smoother and more immediate power. This allows riders to accelerate confidently without feeling like the bike is struggling under load. 4. More Capable for Long-Distance Adventures Many dual motor eBikes are built for riders who expect more than short city commutes. They're commonly paired with: - Larger battery capacity- Full suspension- Fat tires- Hydraulic disc brakes- Stronger frames Together, these features make dual motor models better suited for long-distance riding and varied terrain. If you're planning weekend adventures as well as weekday commuting, a dual motor platform offers greater versatility. Are There Any Downsides? Dual motor electric bikes aren't the perfect choice for everyone. Compared with single motor models, they are typically: - Heavier- More powerful than some riders need- More expensive- Designed for riders who frequently tackle varied terrain If your rides are mostly short, flat, and urban, a single motor eBike may provide everything you need while remaining lighter and more affordable. The right choice depends on your riding habits rather than simply choosing the model with the highest specifications. Who Should Choose a Dual Motor eBike? A dual motor electric bike is a great fit if you: - Regularly ride steep hills- Enjoy off-road adventures- Ride on sand, gravel, or snow- Carry cargo or heavier loads- Want stronger acceleration- Value maximum traction and stability For these riders, the additional performance can make every ride feel smoother, safer, and more enjoyable. A Real-World Example: FREESKY Eurostar Turbo The FREESKY Eurostar Turbo is designed for riders who want to experience the benefits of a modern dual motor electric bike. It combines: - Peak 3500W dual motor system- Up to 200 Nm of torque- Up to 105 miles of riding range- 48V 25Ah removable battery- TÜV-certified UL2271 battery and UL2849 eBike system- Hydraulic front fork and adjustable rear suspension- Dual 4-piston hydraulic disc brakes- 26" × 4" fat tires for all-terrain riding Together, these features provide strong climbing capability, confident handling, and dependable braking across a wide range of riding conditions. Is a Dual Motor Electric Bike Worth It? For riders who mainly cycle on flat city streets, a single motor eBike can be an excellent choice. However, if your rides include challenging terrain, longer distances, or frequent elevation changes, a dual motor electric bike offers meaningful advantages that go beyond higher power numbers. Improved traction, stronger climbing performance, smoother acceleration, and greater confidence on difficult surfaces all contribute to a more capable riding experience. Rather than asking whether a dual motor eBike is worth it, the better question is whether those advantages match the way you ride. Final Thoughts Choosing the right electric bike starts with understanding your riding needs. If you value versatility, all-terrain capability, and confident performance across different conditions, a dual motor eBike can be a worthwhile long-term investment. For riders looking to upgrade, the FREESKY Eurostar Turbo combines powerful dual motors, long-range capability, TÜV-certified safety, full suspension, and advanced braking into one all-terrain platform. With the current Super Early Bird Offer, early customers also have the opportunity to secure the lowest available launch price before regular retail pricing returns. 👉 Reserve your FREESKY Eurostar Turbo Super Early Bird Coupon
Read more


